Numérisation des bassins versants
Généralités
Catchments can be digitized with QGIS standard tool Add Polygon Feature.

Les bassins versants ne doivent pas se chevaucher et peuvent avoir 4 connexions avec des noeuds assainissement.
Numérisation
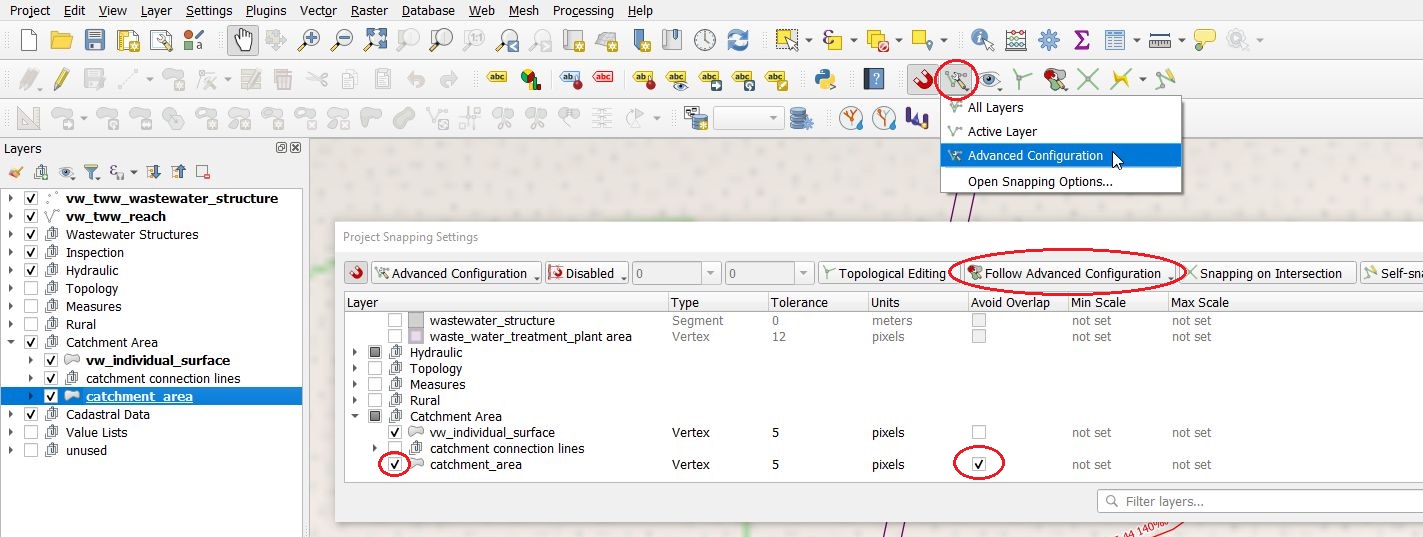
Sélectionnez le bouton Activer l’accrochage

Open the Advanced Configuration, check the catchment_area layer and check the Avoid Overlap checkbox for the catchment_area layer
Note
New digitized catchment areas will not overlap with existing areas with this settings.
Set the layer
catchment_areainto the edit mode.Use the Add Polygon Feature tool to digitize a new area.

Commencer la numérisation avec un clic gauche et continuer avec un clic gauche pour chaque sommet du polygone
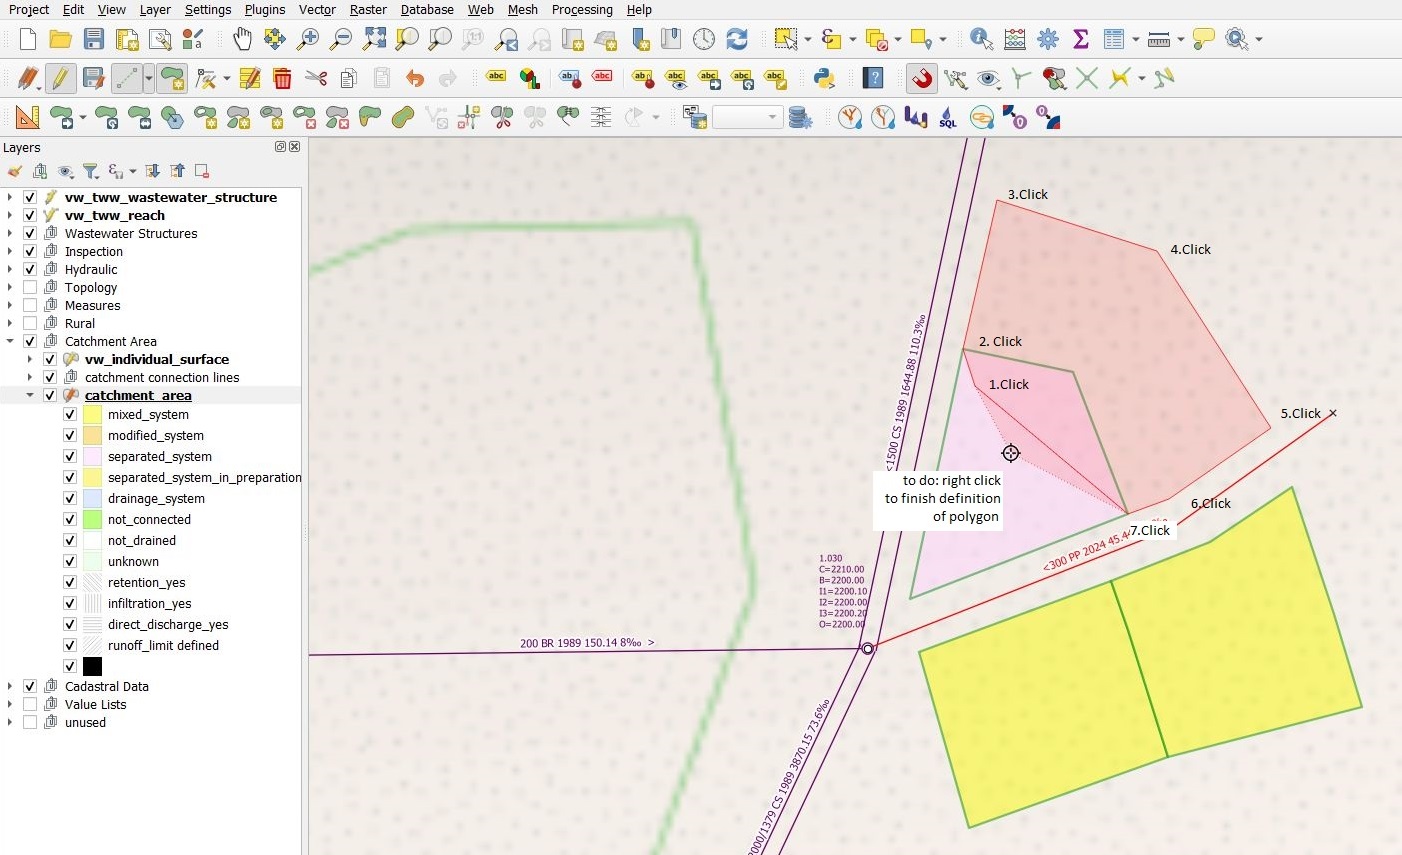
Stoppez la numérisation avec un clic droit
Note
Gardez en mémoire que le point final du polygone est le dernier point où vous avez effectué un clic gauche.
The catchment_area feature attributes window appears
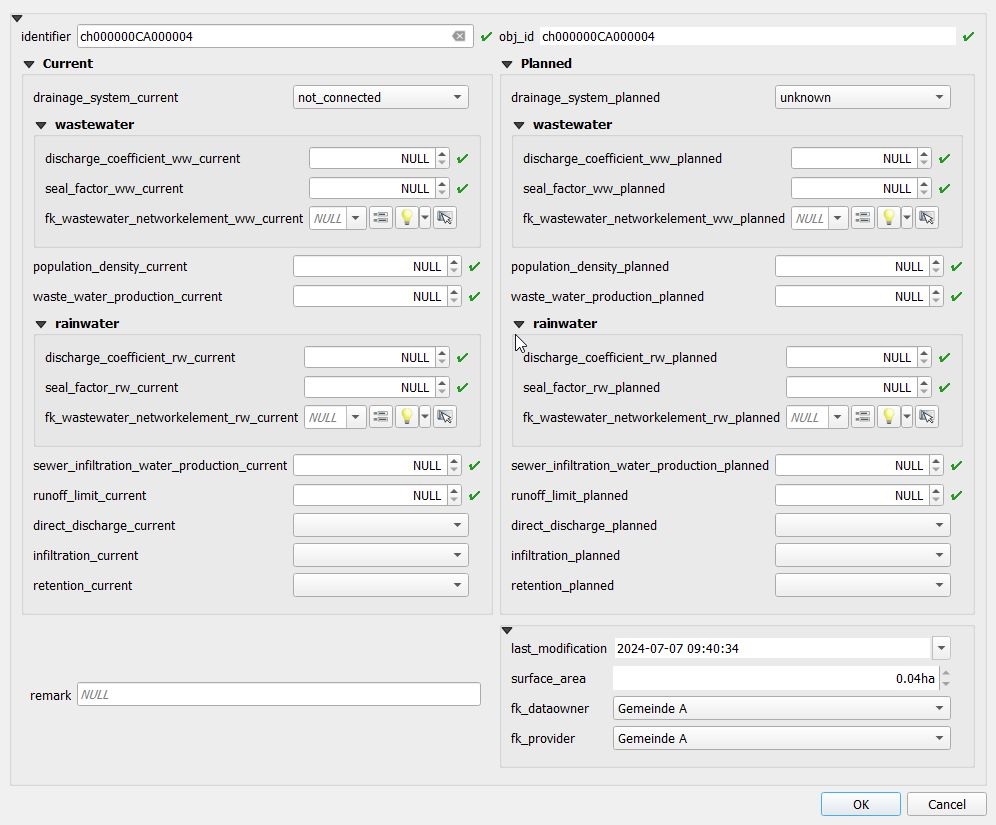
Lorsque vous avez terminé l’édition des attributs, cliquez sur le bouton OK
Note
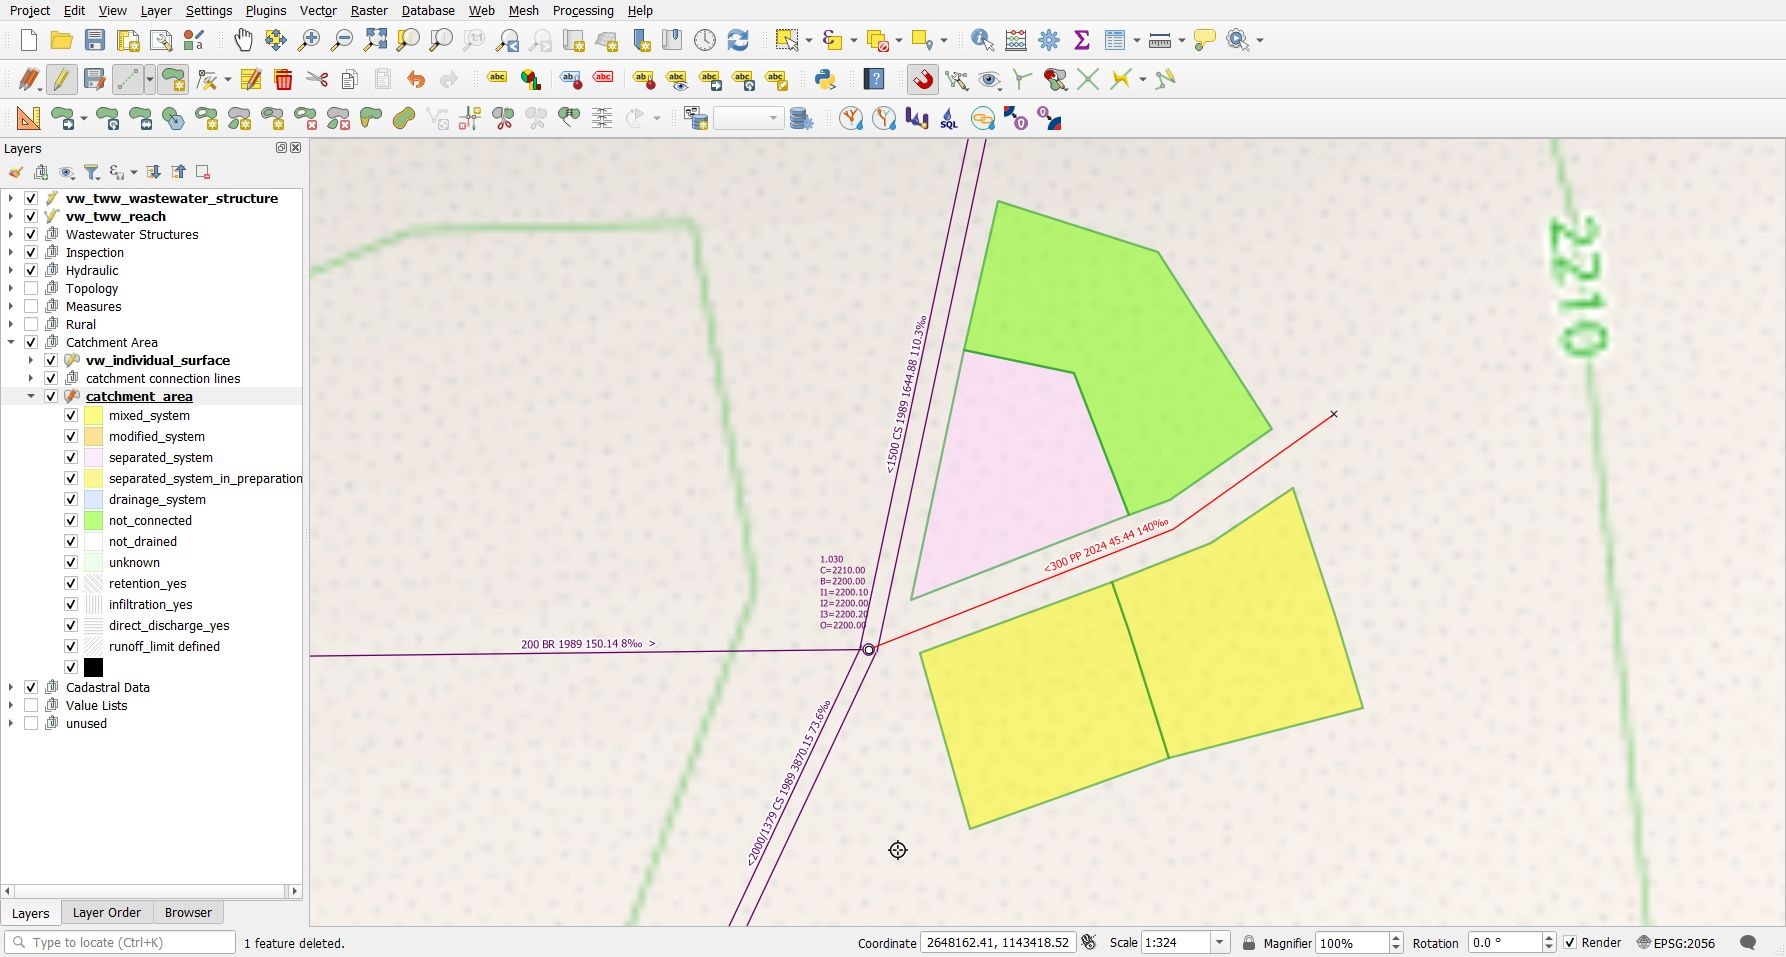
La nouvelle zone ne chevauche pas les anciennes zones.
Note
Pour contrôler la zone exacte du polygone sélectionné, regardez dans la fenêtre (Dérivé) –> **Identifier résultats* sous **.
Note
Pour connecter la zone avec les noeuds assainissement, voir le chapitre connecter-éléments-réseau-assainissement.
Ajouté dans la version 2025.0.
Note
The tab fk_log_card can only be used after creating the log_cards first, see chapter Editing /Log Cards .
Édition
Vous pouvez éditer des bassins existants avec l’outil Sélectionner une entité.

Note
Des réflexions sont en cours afin d’intégrer un menu (dans la fenêtre attribut des entités) qui permettrait de recopier toutes les valeurs des champs “courant” dans les champs “planifié”. Option non réalisée pour le moment.
Séparer des zones
You can split existing areas with the Split Features tool.

There is no need to select the area first. Left clicks to define the splitting line. Right click after having defined the last point of the splitting line.
Fusionner des zones
You can merge existing areas with the Merge Selected Feature tool.

Selected the catchment_area layer and set it into the edit mode
Sélectionnez au moins deux zones que vous voulez fusionner
Click the
Merge Selected Featuretool. -> The Merge Features windows appears.

Choose which values will be taken from which old record. Control the values for fields obj_id, identifier. Then click OK. You can ignore the setting of field surface_area, because the surface_area of the combined area will be recalculated anyway.
Attention
If you select one of the records and click on the Take attributes from the selected feature button, then your manual changes will be reset. After using this button, you have to choose one of the values in the identifier field manually (otherwise identifier is skipped and the value will be NULL).
Connecter la zone du bassin versant aux noeuds du réseau assainissement
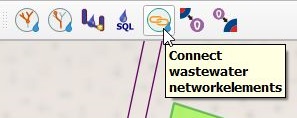
You connect catchment areas with the tool Connect wastewater networkelements (it’s the same tool to connect reaches and nodes described in the chapter Editing in TWW).
Peu importe la couche sélectionnée
La couche zone_bassin-versant doit être en mode d’édition
Cliquez sur le bouton Connecter éléments réseau assainissement
Si vous déplacez la souris au-dessus d’un bassin versant, à proximité de sa périphérie, l’objet est mis en évidence: vous pouvez cliquer pour choisir cet objet.
Déplacez la souris sur l’élément du réseau auquel le bassin versant sera connecté (rappel: les objets sélectionnables sont mis en évidence) et cliquez à nouveau
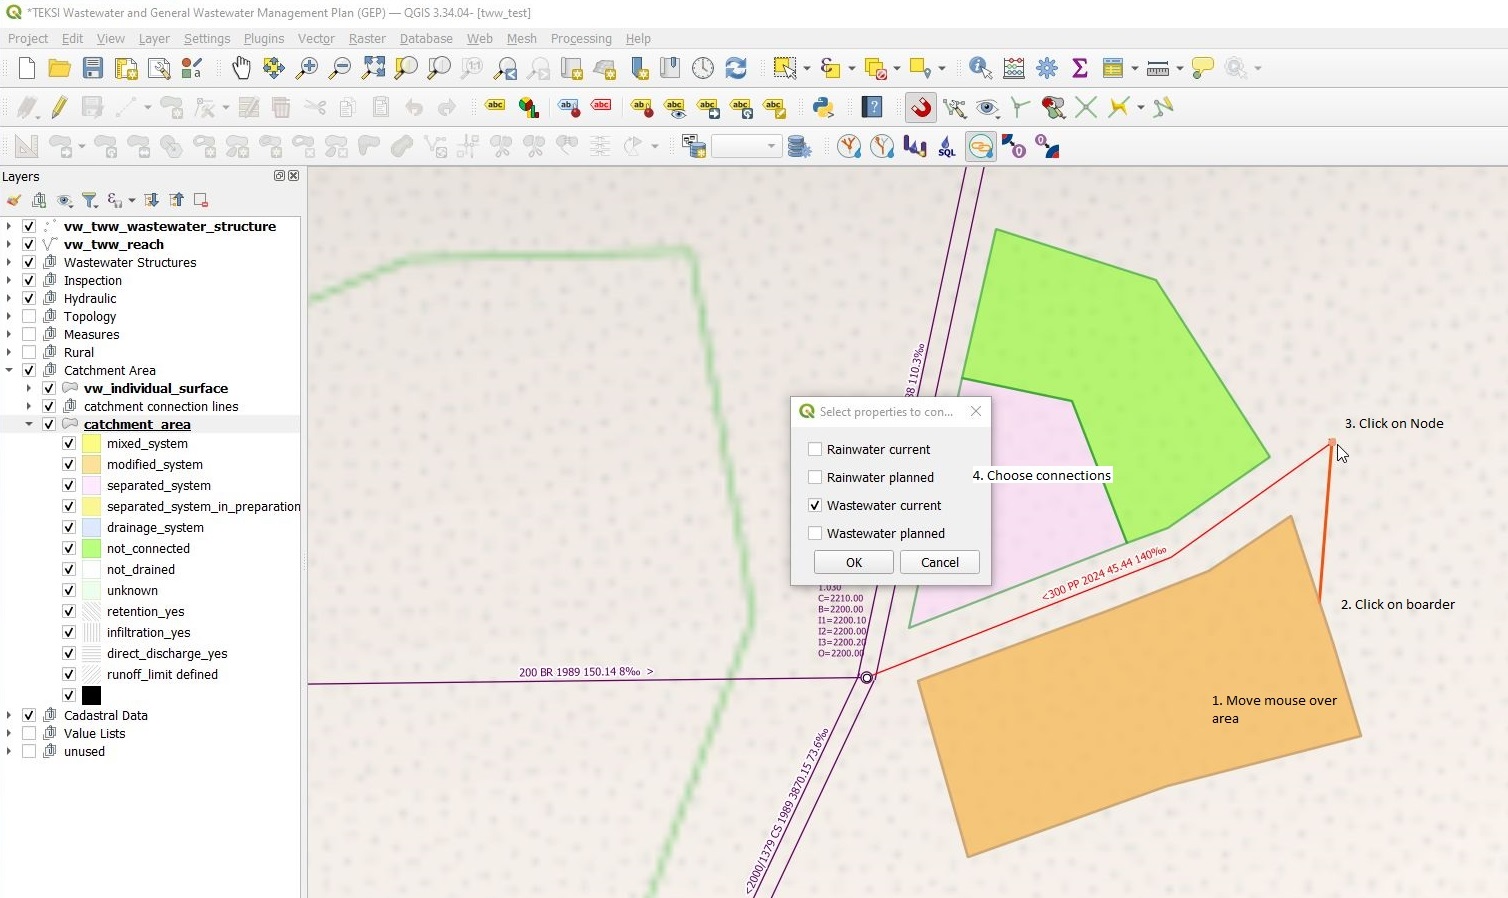
Une fenêtre apparaît, dans laquelle vous pouvez choisir quelle(s) connexion(s) sera(ont) définie(s).
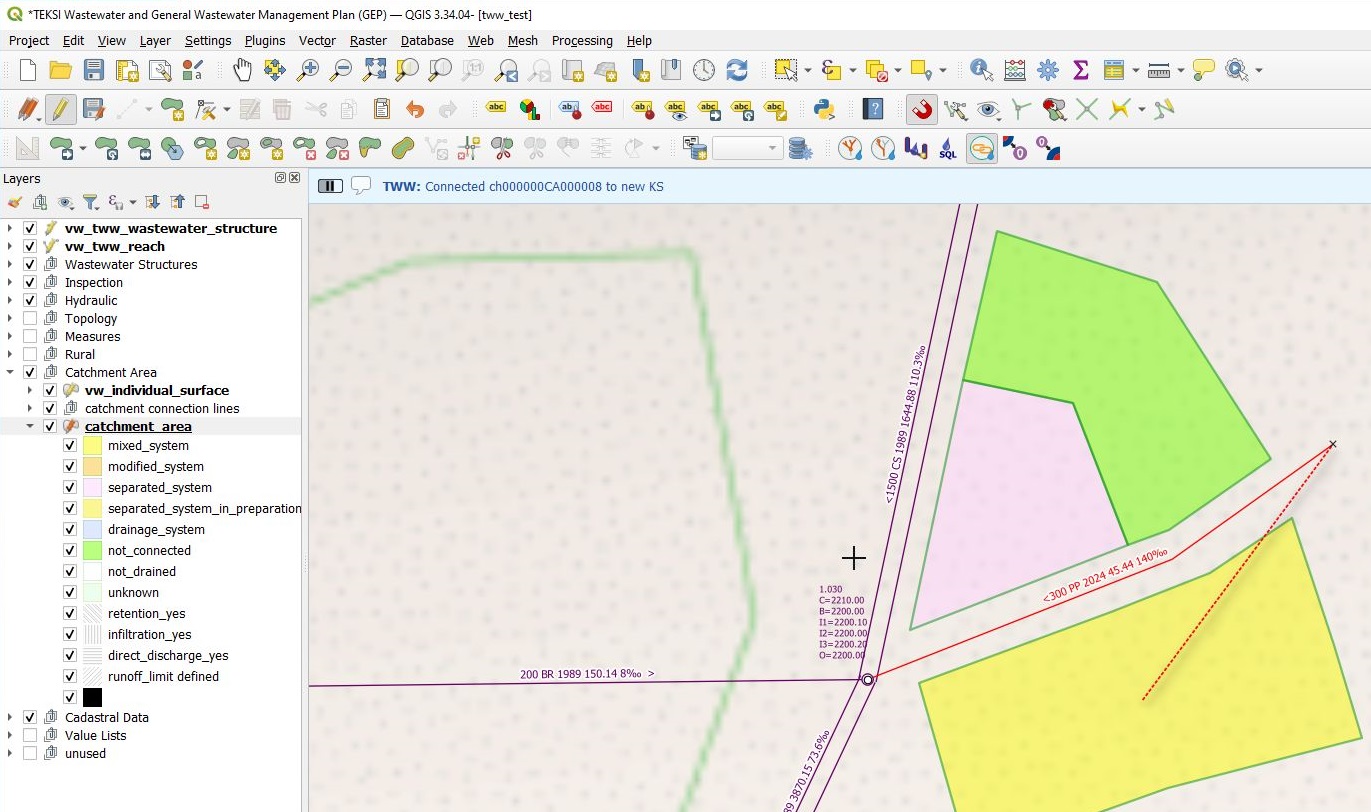
Si tout est OK, vous verrez apparaître un message dans une barre bleue, au-dessus de la vue de la carte
After saving, you will see the catchment connection line, if this layer is visible.
Note
In the VSA-DSS-Datamodel, it is possible to connect catchment_areas to wastewater nodes or to reaches. Because a lot of hydraulic calculation do not support connections to reaches, this tool in tww connects only to wastewater nodes and not to reaches.
Note
The tool does not check, if your choosen wastewater node is a part of the pwwf-network (primary network). It’s only the user who decides, if a node is ok or not. If you are not sure, please check the VSA Wegleitung Daten der Siedlungsentwässerung, part Erfassungsrichtlinien
You can not connect multiple areas with the tool to a wastewater node at once. If you want to do so, you have to select the catchment areas, open the attribute table and then start the multi edit mode. There you can choose the wastewater node from the list of all nodes.
Pour supprimer une connexion à un noeud assainissement, vous pouvez éditer la zone avec l’outil Identifier entités.
The “duplicate coord”-error
After digitizing catchment areas and export to DSS, you will probably get the message, that your exportfile is not valid. In the ilivalidator.log-file can be messages like:
Error: line nnnn: DSS_2020_1_LV95.Siedlungsentwaesserung.Einzugsgebiet: tid chmmmm: duplicate coord at (x.xxx, y.yyy, NaN)
The reason is: in the XTF-file, coordinates are writen with 0.001m (1mm). Vertex-points in QGIS can differed by only 0.0001m (0.01mm) or less.
Note
Do not work with a export-file, that is not valid. Be aware that you will not be able to import a not valid file in TWW.
Solutions:
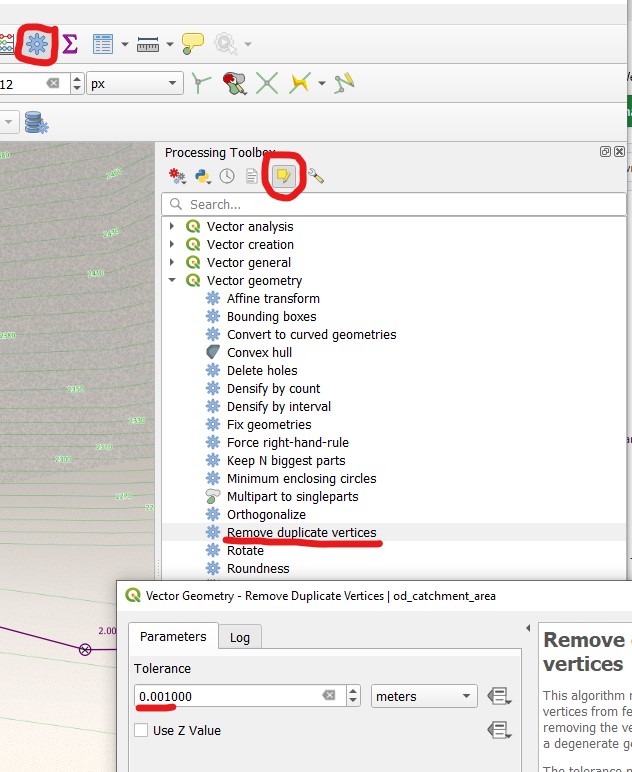
In layer-properties of the catchment area, tab digitizing, check remove duplicate nodes and add 0.001 as Geometry precision [m]
If there are already duplicate nodes in the data, you can eliminate them with processing toolbox, Edit Features in-Place, Remove duplicate vertices, Tolerance = 0.001m
